Create. Discover. Share. PLUR.
Your ultimate hub for kandi culture. One-of-a-kind pattern editor, extensive tutorials, and a bustling community of thousands sharing their creativity.
 Start Creating


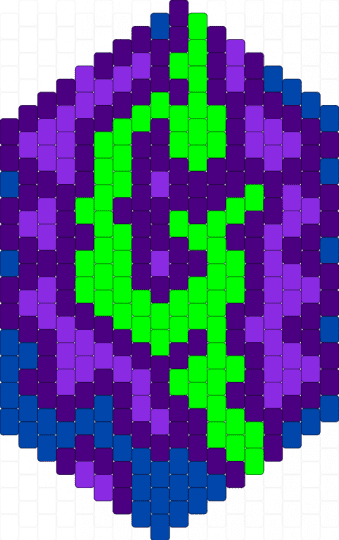


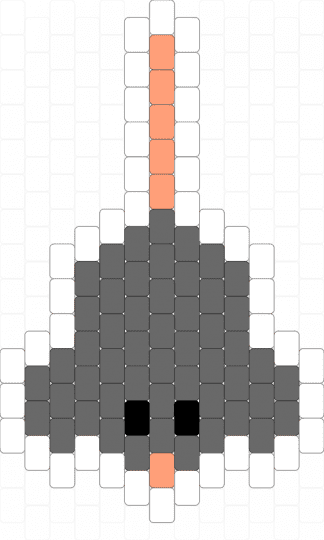


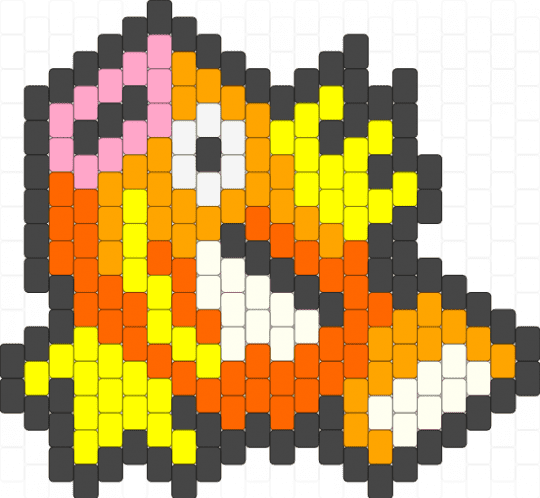
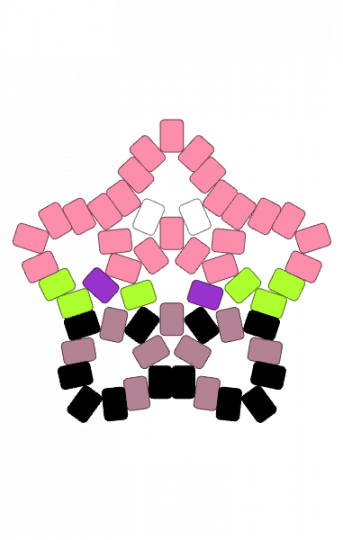
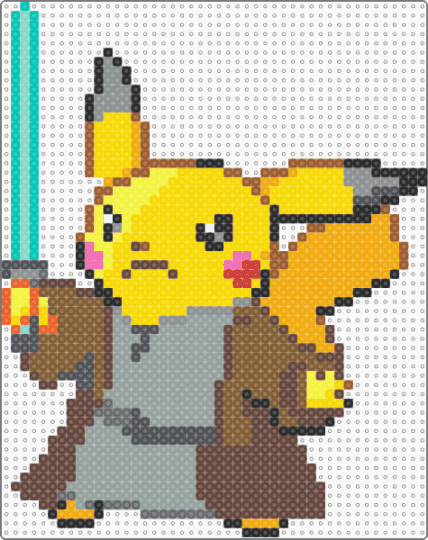
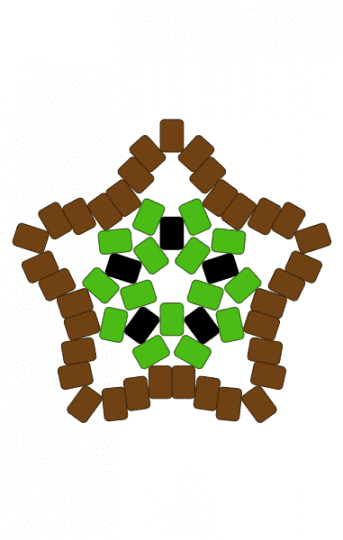
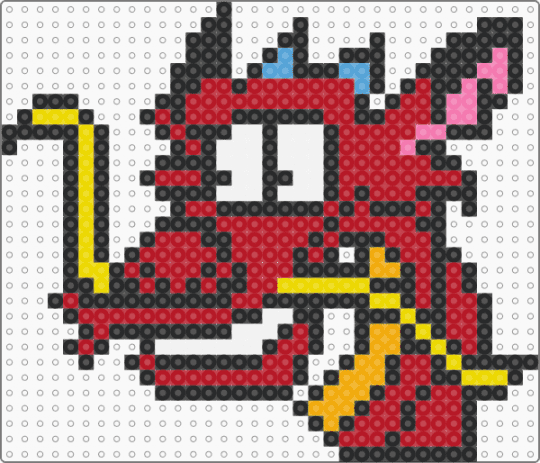
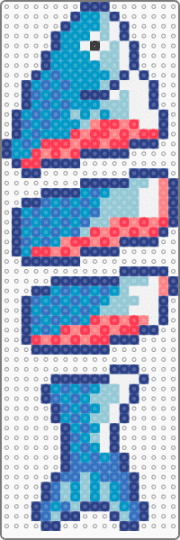
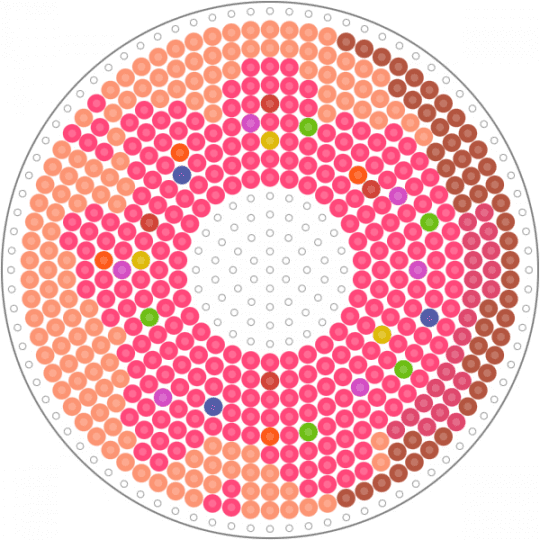
SVTFOE Star Versus The Forces Of Evil Star's Wand Large Perler
29
12
1
Like
Comment
Add To


Log In or Sign Up to comment on this pattern.