

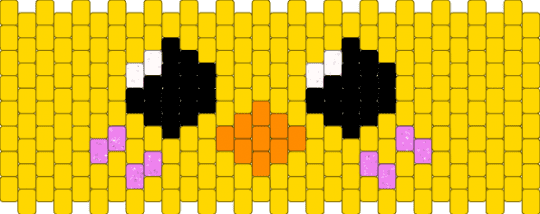
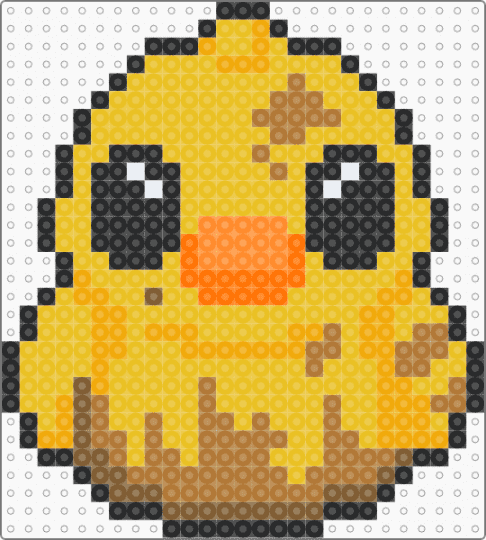
3D duck, (for rotator cufff!) PART THREE
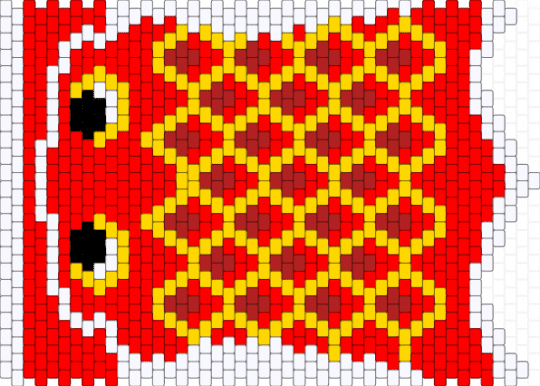
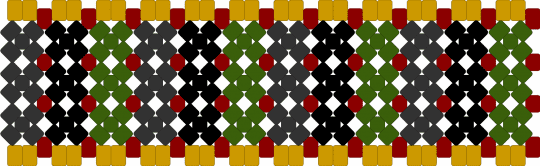
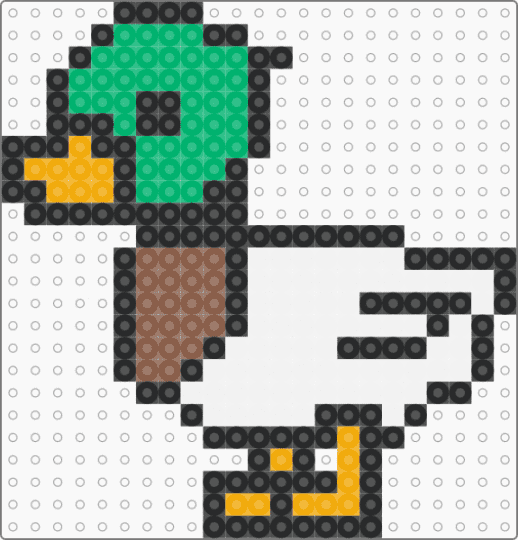
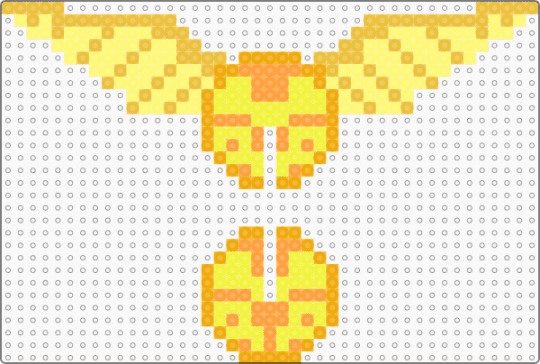
Assembly instructions! The body: this part of our duckling friend is located and the bottom left of our pattern, so start off by making a normal multi stitch cuff, following the pattern till you reach the top/bottom area, this is the point at which we do the same thing as making a 3D octopus, sinching up both ends of our creation together to create a ball like thingy, set aside and your done!!!! (note: don't cut your string yet!!!!!!) The Head: this part is located at the top right of our pattern, so again we're going to start off by using the multi-stitch to get it to a singular type shape, once you reach the top/bottom areas you DO NOT add beads to this, instead, use the four sticky-uppy beads and sinch those together Adding the beak: once your head is made into a circular shape, do not cut your string, instead thread it through to the yellow bead that is located down and to the right and down (diagonally) and add three (3) orange beads and string it to the same bead we are coming out of BUT ON THE OTHER SIDE, and tie off without cutting the string remaing Stitching it together: using the string we have lefty over, stitch the head to the body in a way that looks the best to you, bit make su when you tie it off the string is in the body Adding the tail: using the string coming out off the body, thread it to the back of our duckie and string on three yellow beads and attach the same way you did with the beak, tie off and secure with glue Now you have a glorious beadling Duckie!!! hope you enjoy and I hope I explained it well. if anyone has any recommendations on how I can make it easier to understand, please let me know!!! I love feed back!!! Love, Ajax


![3D dice [READ DESC] - white,red,orange,yellow](https://kandipad.com/assets/images/projects/pp/pp52267-45f9ae2c-3d-dice.png)
Log In or Sign Up to comment on this pattern.