How To Make Perler Bead Art
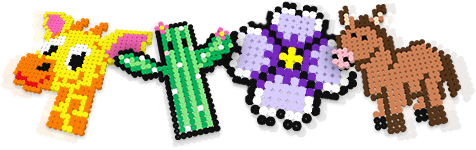
Fuse bead/Perler art is a fun and creative craft activity that can be enjoyed by people of all ages. It involves arranging small plastic beads on a pegboard to create a wide range of designs and patterns, from simple shapes to more complex images. The beads are then fused together using heat to create a solid piece of artwork. This is a simple, yet addictive craft that is easy to get started with because it does not require any special skills or equipment. All you need is a pegboard, beads, and an iron.
Step 1: Gather Materials
 Fuse beads
 Pegboard
 Ironing Paper/
Parchment Paper Iron
Iron
Step 2: Choose a Pattern
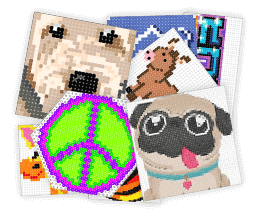
Decide on the design you want to create and choose a suitable pegboard. There are many different patterns available in our Pattern Gallery or you can create your own right here on Kandi Pad.
Step 3: Place beads on the pegboard
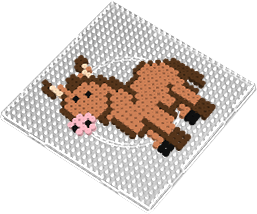
Begin placing the beads on the pegboard according to your pattern. Be sure to place the beads securely on the pegs so they won't fall off.
Step 4: Place ironing paper/parchment paper over the beads
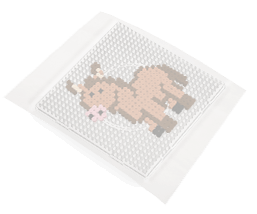
Once you have completed placing all the beads on the pegboard, lay a sheet of ironing paper on top. Make sure that the ironing paper is covering all the beads and is smoothened out to avoid any wrinkles.
Step 5: Iron the beads
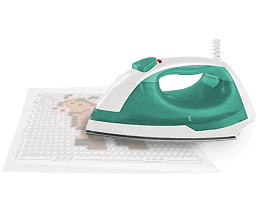
Set your iron to a medium heat setting and press it firmly on top of the ironing paper for about 20-30 seconds. Move the iron around the ironing paper slowly for about a minute to ensure that all beads are melted together.
*Note: Make sure to follow the instructions provided with the Perler beads and ironing paper for best results. If applicable, make sure the steam setting on your iron is set to OFF, and always supervise children when using the iron.
Step 6: Allow the beads to cool

Once the beads have melted together, allow them to cool completely before removing them from the pegboard.
Step 7: Carefully remove the Perler
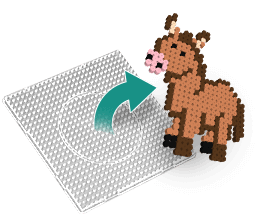
Once the beads have cooled and hardened, gently remove the perler from the pegboard.
Step 8 (optional): Iron the reverse side
Flip the Perler over onto your table or desk, cover again with ironing paper, and repeat Step 5 with the reverse side.
Browse our Pattern Gallery to find the perfect Perler pattern for you!
Create Your Own Perler pattern using Kandi Pad's online editor